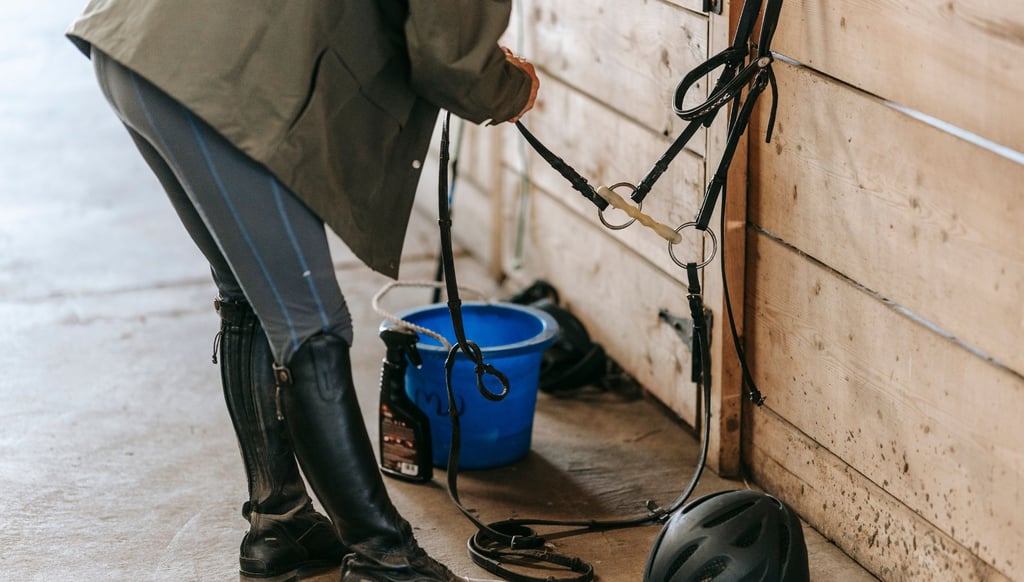
Tack Cleaning 101: Why It Matters & How to Do It Right
Your tack is one of the most important investments in your riding journey. Whether you're training at home, competing online, or preparing for in-person shows, clean and well-maintained tack can make a huge difference in your performance and your horse’s comfort.
3/25/20252 min read


Neglecting your tack can lead to stiff leather, worn stitching, and even safety hazards—not to mention a less polished look in competition videos! Let’s explore why tack cleaning is essential and how to do it quickly and effectively.
Why Cleaning Tack is Essential
Cleaning your tack isn’t just about looks—it’s about function, longevity, and safety.
✔ Comfort for Your Horse – Dirty tack can cause chafing, discomfort, or even sores, especially from dried sweat and dirt buildup.
✔ Longevity of Your Equipment – Proper care prevents cracks, breakage, and costly repairs.
✔ Safety for the Rider – Weak leather or worn-out stitching can cause unexpected tack failures, putting both you and your horse at risk.
✔ A Professional Appearance – Whether competing in a VEE Challenge or a live event, clean tack shows professionalism and respect for the sport.
Step-by-Step Guide to Cleaning Tack
🧼 Step 1: Gather Your Supplies
You'll need:
✅ Saddle soap or leather cleaner
✅ A damp sponge or cloth
✅ Soft bristle brush (for stubborn dirt)
✅ Leather conditioner or oil
✅ A dry towel
🪶 Step 2: Take Apart Your Tack
🟢 Unbuckle your bridle & remove the bit
🟢 Take off stirrup leathers & irons
🟢 Unfasten girth straps & billets
💡 Taking apart your tack allows you to clean hard-to-reach areas where dirt and sweat accumulate!
🫧 Step 3: Clean Off Dirt & Grime
🔹 Wipe Down Leather – Use a damp sponge with saddle soap or leather cleaner to remove dirt, sweat, and dust. Pay attention to areas that touch your horse, like the girth and reins.
🔹 Scrub Crevices – Use a soft brush or an old toothbrush to clean buckles, stitching, and carved leather details.
🔹 Clean the Bit – Soak it in warm water and scrub off any dried saliva or food residue.
💡 Tip: Avoid over-soaking leather—too much moisture can weaken it over time!
🪵 Step 4: Condition the Leather
✔ Apply a small amount of leather conditioner or oil to keep your tack soft and supple.
✔ Work it in with a soft cloth and let it absorb for a few minutes.
✔ Buff off any excess to avoid a greasy residue.
💡 If your tack is stiff, use a heavier conditioner, but avoid over-oiling, as it can make leather too soft and weaken its structure.
🧴 Step 5: Polish & Store Properly
✨ Polish Metal Parts – Wipe down stirrups, buckles, and bit rings for a finishing touch.
✨ Let Everything Dry – Always allow tack to dry at room temperature—never in direct sunlight, as heat can dry out leather.
✨ Store in a Cool, Dry Place – Hang bridles properly and keep saddles on a rack or stand to prevent warping.
💡 Bonus Tip: Cover your tack with a cloth or saddle cover to protect it from dust and moisture.
How Often Should You Clean Your Tack?
✔ After Every Ride – Quick wipe-down for bits, girths, and reins
✔ Weekly – Light cleaning of saddles, bridles, and stirrup leathers
✔ Monthly – Deep conditioning and thorough inspection for wear and tear
Final Thoughts: Make Tack Cleaning a Habit!
A little effort goes a long way in keeping your tack in top shape. By cleaning regularly, you ensure your equipment lasts longer, your horse stays comfortable, and your riding looks polished—especially in Virtual Equine Events!
📝 Try This: Before filming your next VEE entry, take 5 minutes to clean your bridle and bit. Notice how your horse responds to the extra care!
Connect
Join our community and showcase your skills.
Be the first to know
© 2024. All rights reserved.
Subscribe to our monthly newsletter for the latest shows and news.
